1. Press the Button
Point the scanner at the object and press the button. The scanning process will begin immediately. It’s that simple. Should something go wrong, audible and visual aids will guide you through the process, and ensure that you are scanning correctly.
2. Move the Scanner
Move the scanner around the object. Real-time surface alignment gives you a good understanding of what has been scanned so far and what still needs scanning.
Do not worry if you can’t get to a certain area of the object — you will be able to return to it later.
3. Make Scans
Make as many scans as needed to capture the whole object. If you need to turn the object over to acquire all sides of it, scan the whole first side, then stop, turn the object over and scan the other side.
Process
1. Align Scans
Align all your scans together to get the full model. If something is missing, just scan that part again. To perfectly align many scans use our new optimizations algorithm. You can also place your model to the origin of a coordinate system.
2. Fuse Scans into One 3D Model
Fuse all scans together to get a single triangulated mesh. Our Fusion algorithm will do it quickly.
3. Smooth & Optimize
You can optimize the grid, fill holes and smooth a surface. Many different tools are available.
4. Texturize
Apply texture to your object automatically, with a click of mouse. The newest algorithms fully utilize the power of your CPU, so you may want to get the best one.
MORE SCANNERS
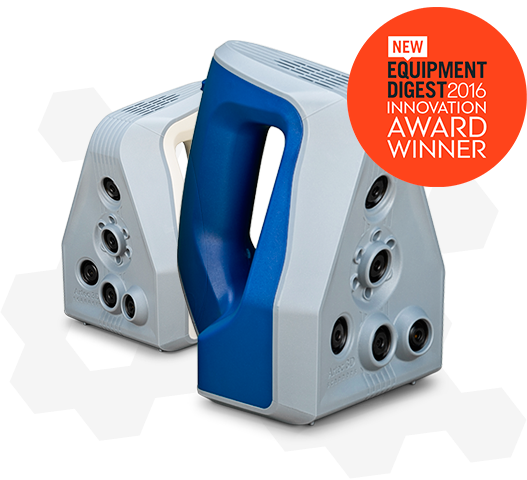
ARTEC SPIDER
The most versatile and popular Artec scanner size. Perfect for scanning medium objects such as a human face, a lamp, or a motorcycle exhaust pipe.
3D resolution, up to: 0.1 mm
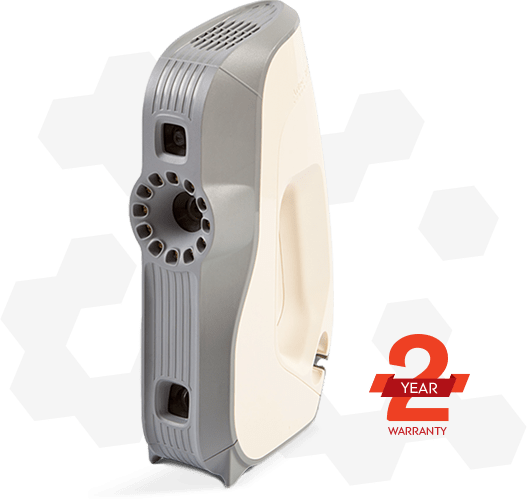
ARTEC EVA
The most versatile and popular Artec scanner size. Perfect for scanning medium objects such as a human face, a lamp, or a motorcycle exhaust pipe.
3D resolution, up to: 0.5 mm
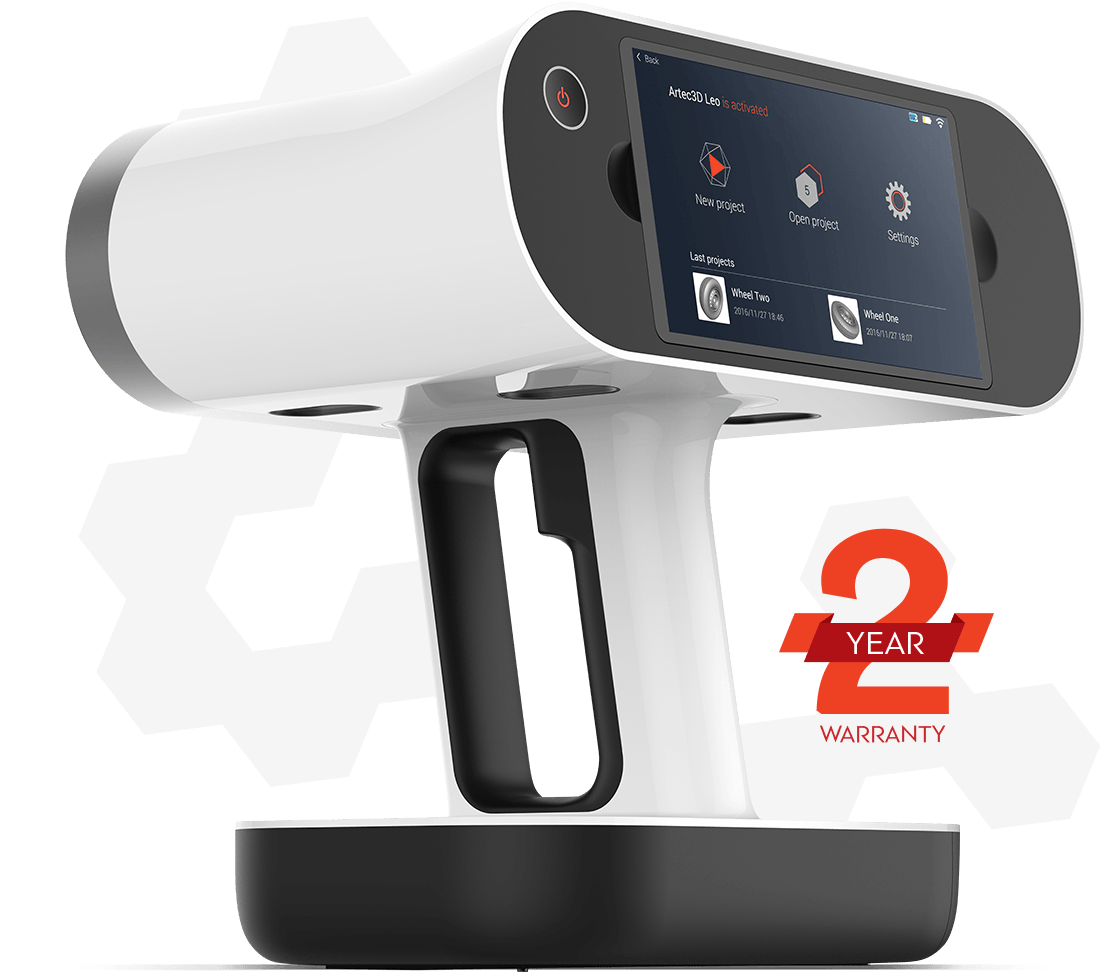
ARTEC LEO
The most versatile and popular Artec scanner size. Perfect for scanning medium objects such as a human face, a lamp, or a motorcycle exhaust pipe.
3D resolution, up to: 0.5 mm
